

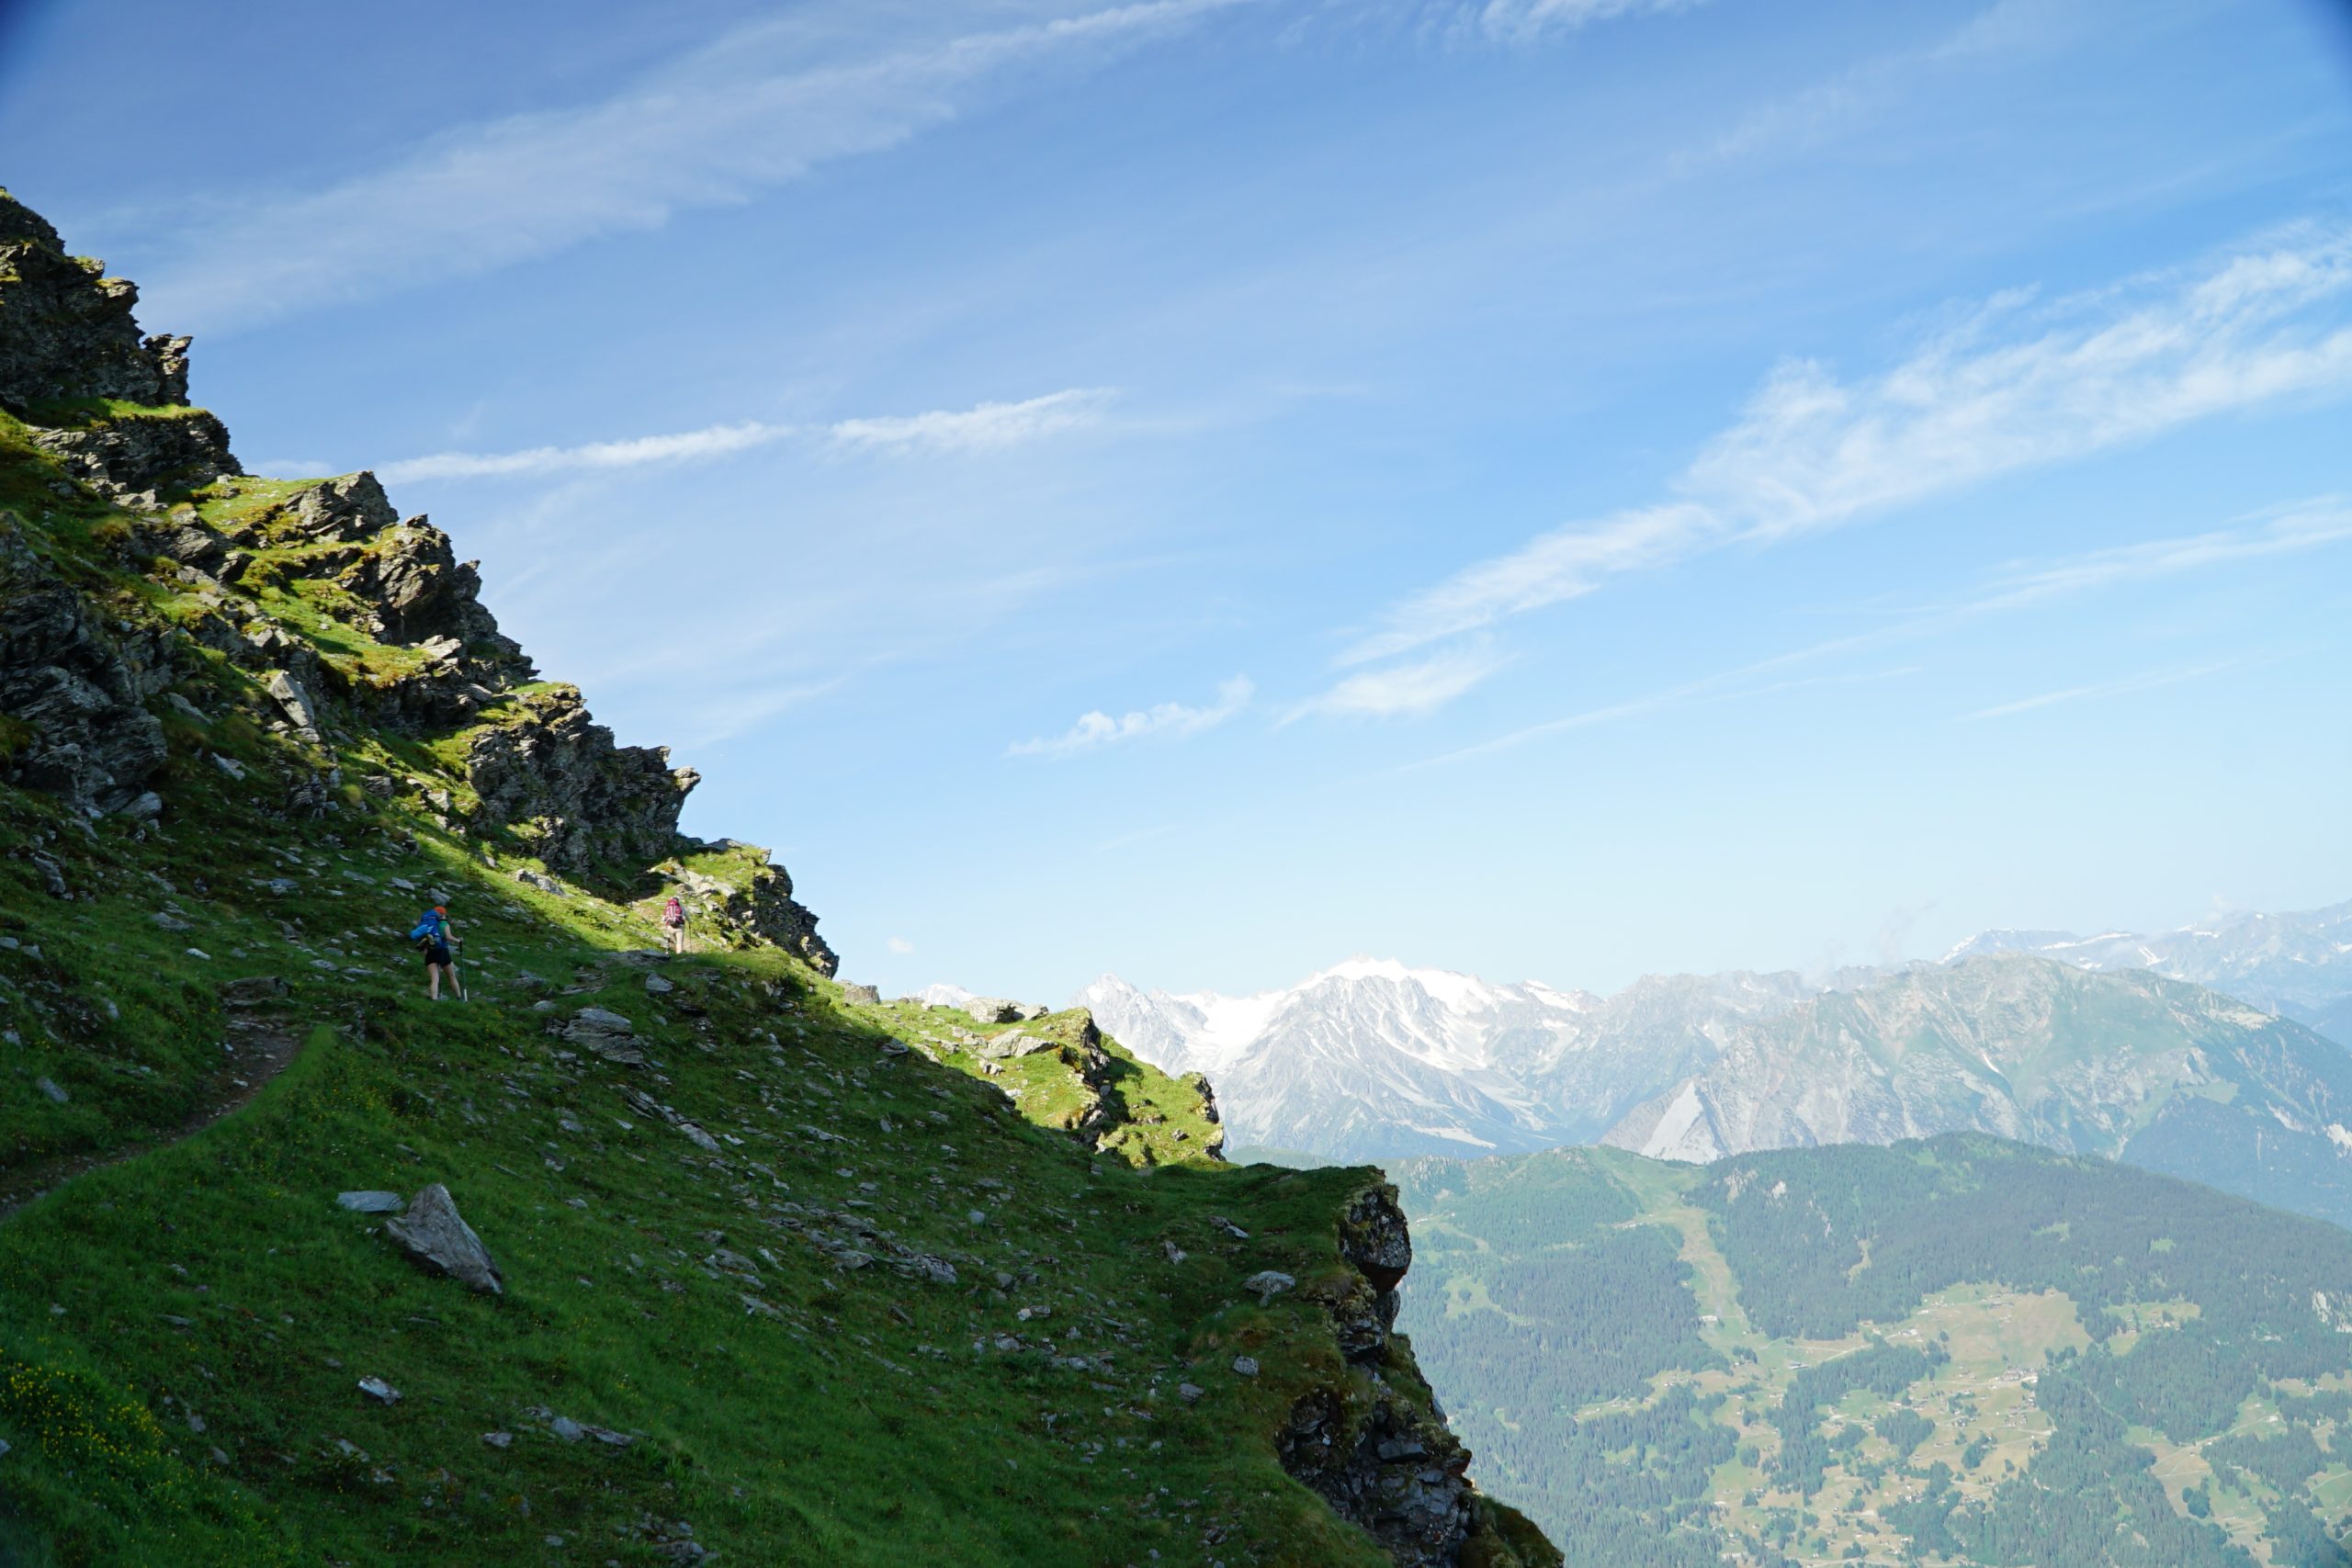
Haute Route : How tough are the trails, really?
What do the technical and exposed trails on the Haute Route look like? Let's look together...

The Haute Route is a long, demanding hike from Chamonix to Zermatt. The itinerary crosses some of the highest and most rugged terrain in the Alps, which is why the terrain is often described as “technical” and “exposed”. But what does this really mean? We’ll explain this in plenty of detail below…
Technical, exposed trails on the Haute Route
One thing that can be difficult to understand from a route description is just how much the terrain affects your pace.
A 20km day on a smooth trail is one thing. But 20km day involving boulder fields, steep scree, big rocky steps and exposed trails is something else entirely. On the Haute Route, the “technical” nature of some of the trails can make a day much longer than the distance on the map suggests. You are constantly adjusting your balance and watching your feet.
It is this combination of distance, elevation, altitude and technical terrain that makes the Haute Route such a tough multi-day hike. The Valais tourism board describes the route as a challenge even for experienced mountain walkers.
But what do we actually mean when we say that the Haute Route is “technical” and “exposed”?
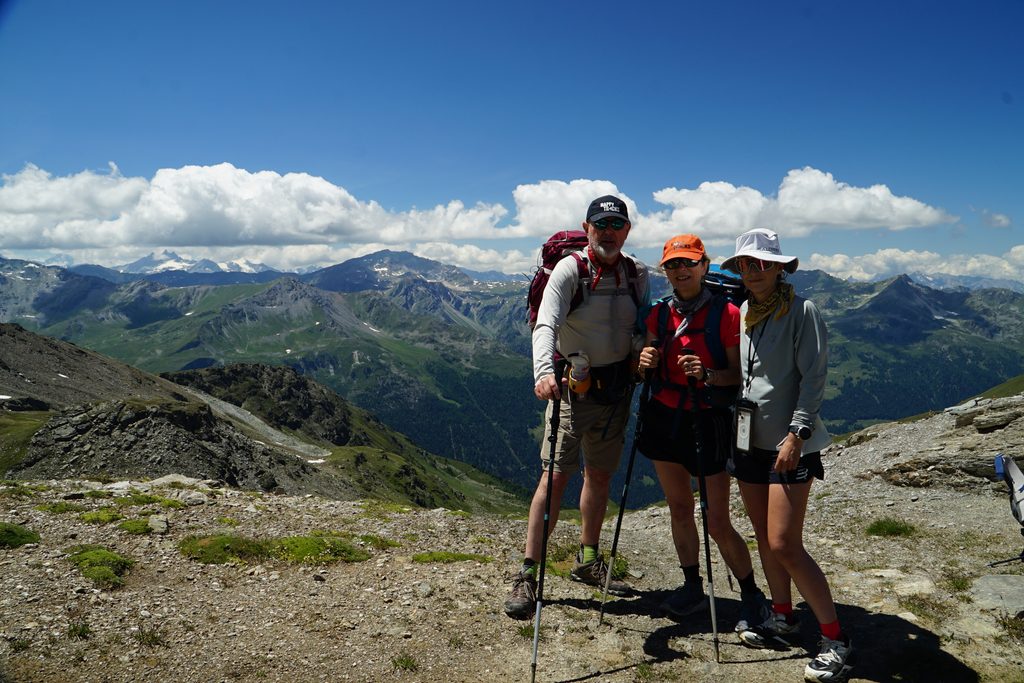
I recently guided my parents across the Haute Route, and this post is based on our experience of the terrain first-hand. My dad, Tim, finds heights particularly challenging, while my mum, Helen, found the boulder fields the hardest part. It was interesting to see how differently the technical sections affected them, and it gave me a much better understanding of the things that can make this terrain challenging for different hikers.
Technical trails on the Haute Route
Much of the Haute Route takes place high in the mountains, with many of the more technical sections above 2,000 metres. The route repeatedly climbing towards passes close to 3,000m.
At this altitude, the trails are often rocky and rugged. You cross large boulder fields, pick your way across rough ground and, in places, descend steep slopes of loose shale and scree.
None of this requires rock-climbing skills or ropes, but it does require good balance and the ability to concentrate for long periods.
Let’s look at some of the different types of technical trail you can expect…
1. Crossing boulder fields on the Haute Route
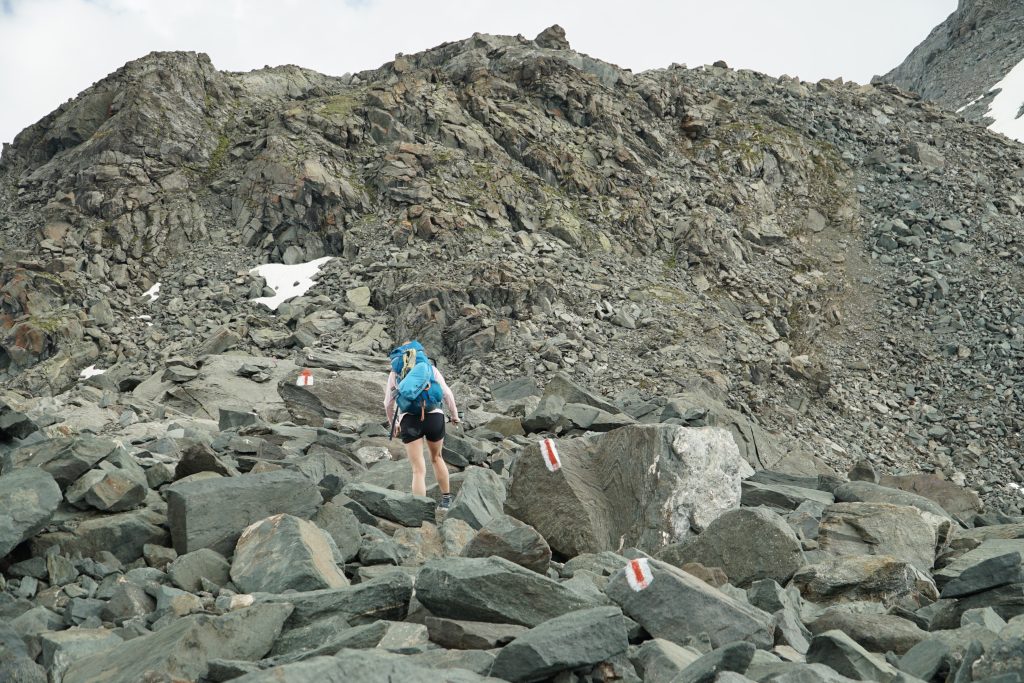
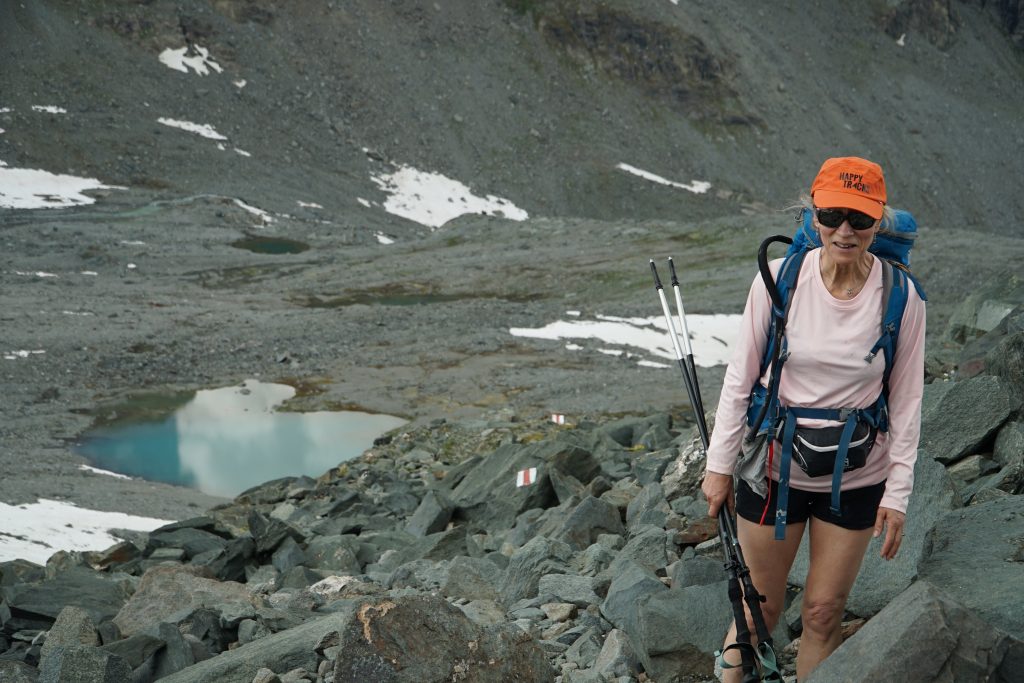
A boulder field is exactly what it sounds like: an area of large rocks and blocks, usually left behind by glaciers or rockfall, with no neat path running through them.
Crossing one can feel very different from ordinary hiking. Rather than simply following a trail, you have to pick your way from one rock to the next. Sometimes that means stepping around large boulders; sometimes it means climbing over them using both your hands and feet.
What makes boulder fields tough?
The difficulty is not necessarily that the boulders are dangerous. In good conditions, the challenge is more about balance, strength and concentration. Some rocks are large enough that you need to think carefully about where to put your feet.
If you’re leading the group without a guide, there is another layer of decision-making: which way should you go? It can be surprisingly tiring mentally. You are constantly looking ahead, choosing your next move and checking that the rock you are stepping onto is stable.
Helen found the boulders particularly challenging:
“I found the boulders scary as sometimes they would move slightly, and I’d see a long way down through the holes!”
Top tips for crossing boulders on the Haute Route
Here are our top tips for navigating boulder fields on the Haute Route…
Finding your way :
The Haute Route boulder crossings are all marked with paint, but the markers aren’t always easy to see. If you’re leading your group, make sure you can see the next marker before leaving the one you’ve just reached.
Getting across :
Take your time and use your hands. Sometimes it’s better to put your poles away. Trust your balance and try not to hesitate over every step. Helen noted the following :
“If you stop you lose your momentum, so at times I wished I had made sure to top up my energy before starting to cross.”
With a heavy backpack, this becomes even more noticeable. If you struggle with the pack, ask your guide or a friend in your group to carry your bag.
2. Big steps up and down on rocks
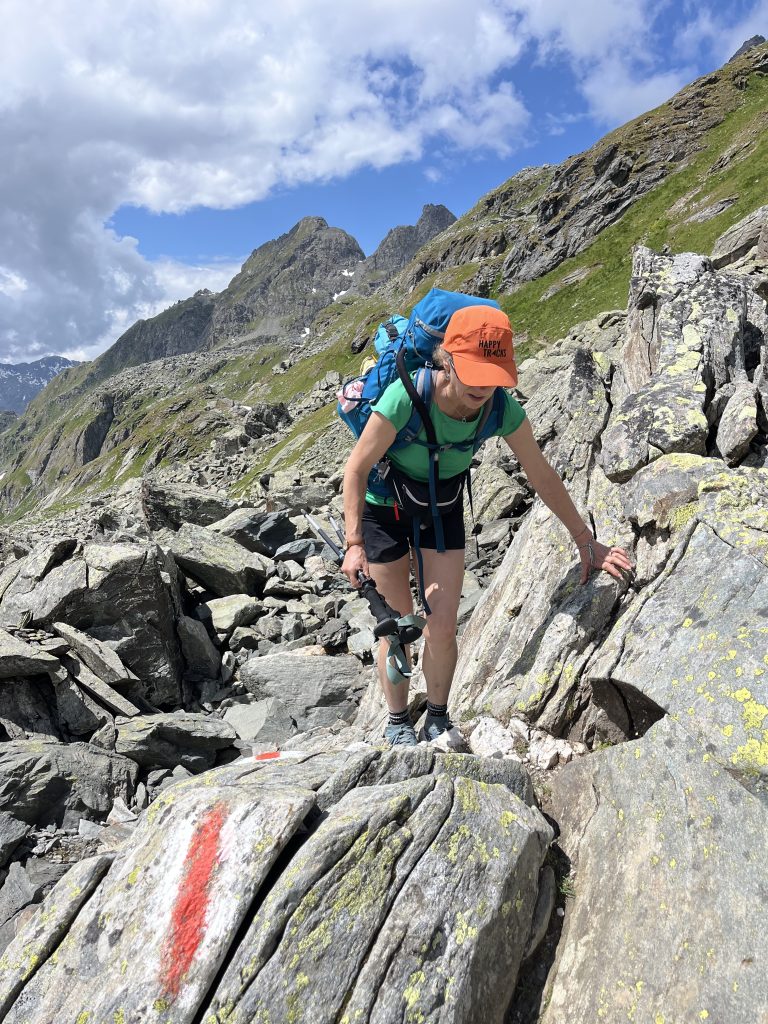
Some sections of the Haute Route involve surprisingly large steps up or down between rocks.
This isn’t scrambling in the sense of climbing a rock face, but you may occasionally need to use your hands for balance or place a foot on a high rock before stepping up.
Top tips for big steps on the Haute Route
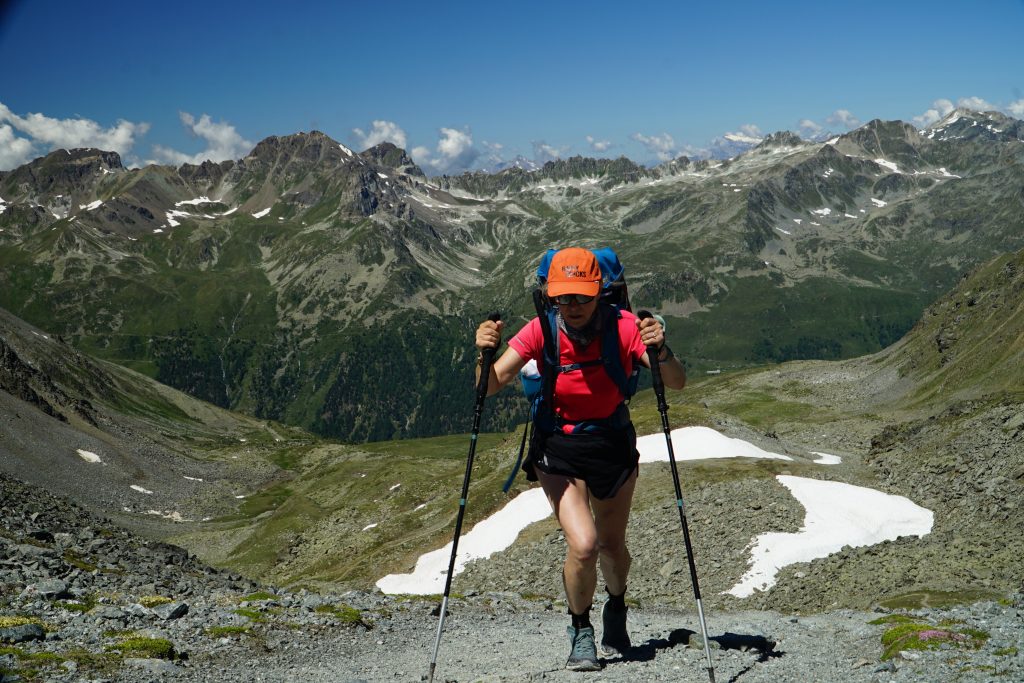
Your hiking poles become particularly useful here. Rather than simply using them for rhythm, use them to help with balance and stability.
The key is to move deliberately. Don’t rush simply because everyone in the group is moving. Find a stable foothold, use your poles for support and make the step when you feel balanced. By the end of the day, your arms should feel tired as well as your legs!
“I did not think I’d use my poles, to be honest. But by day two, I found they were really very useful. I started to trust pushing on them… even on rocks, where it didn’t look like they would stick” – Tim.
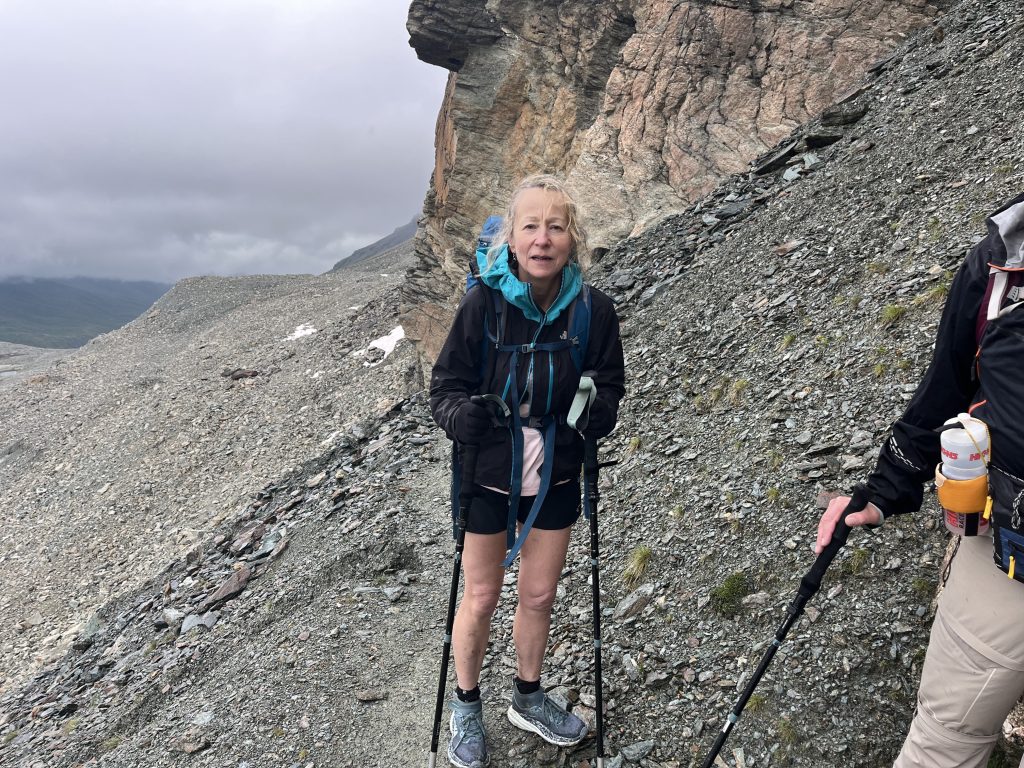
3. Steep descents on shaley scree
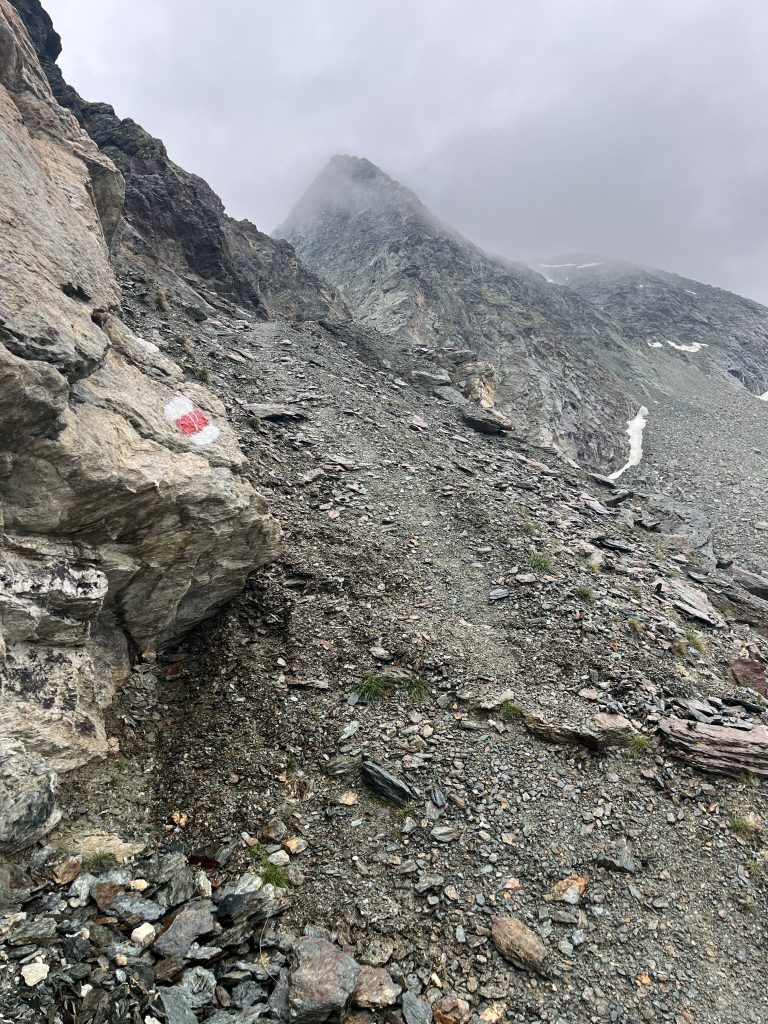
For some hikers, descending loose shale is one of the most intimidating parts of the Haute Route.
The ground can consist of small, flat pieces of rock that shift under you. On a steep slope, this can give you the unpleasant feeling that your feet are sliding downhill.
This was something Tim particularly struggled with. He didn’t completely trust his feet on the loose surface, which made the descent feel much more precarious than it really was.
Top tips for Haute Route scree slopes
The answer is not to hurry. In fact, slowing down usually makes a big difference.
Take shorter steps, place your feet carefully and use your poles for balance. Rather than leaning away from the slope, keep your weight controlled and use your poles to give you extra points of contact.
Wet weather makes these sections more challenging, as both rock and loose ground can become slippery. This is one of the situations where the weather can have a big effect on how long a section takes.
4. Relentlessly rocky trails
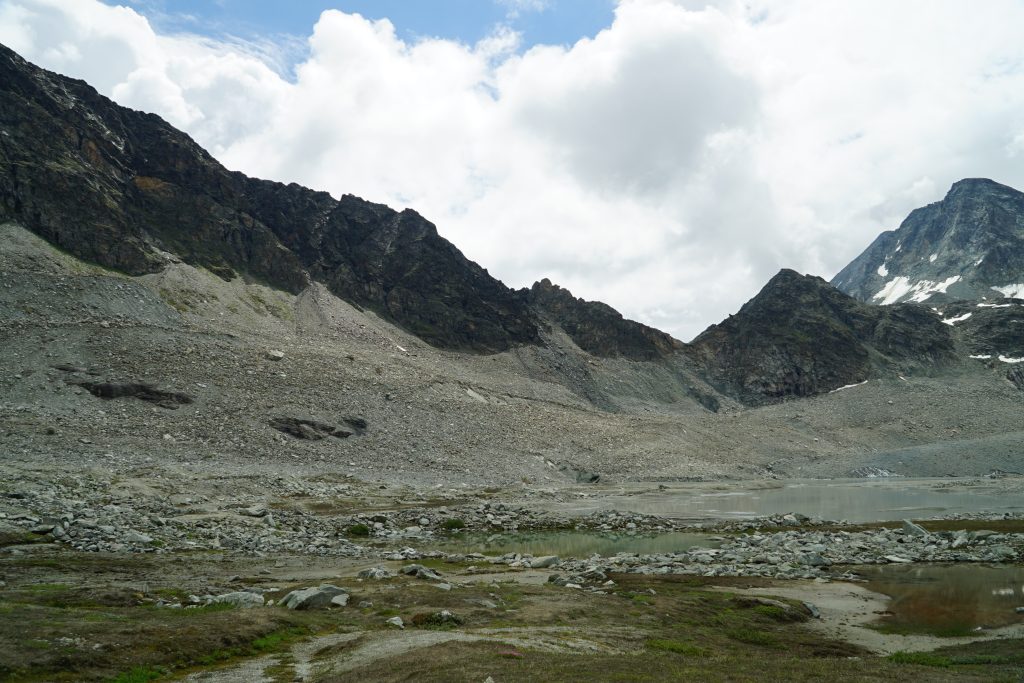
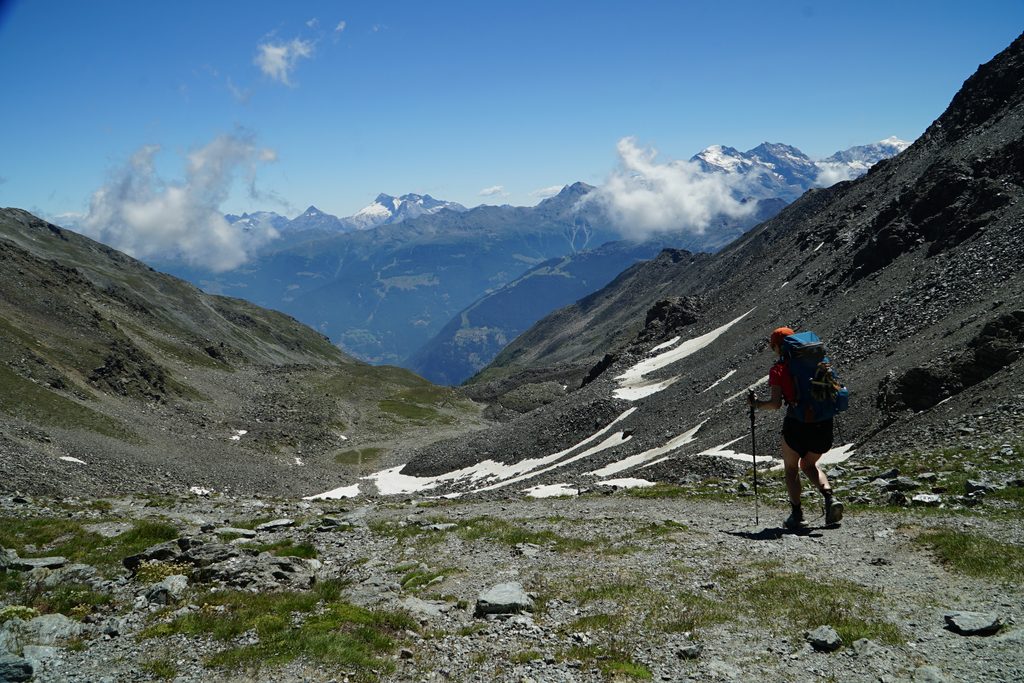
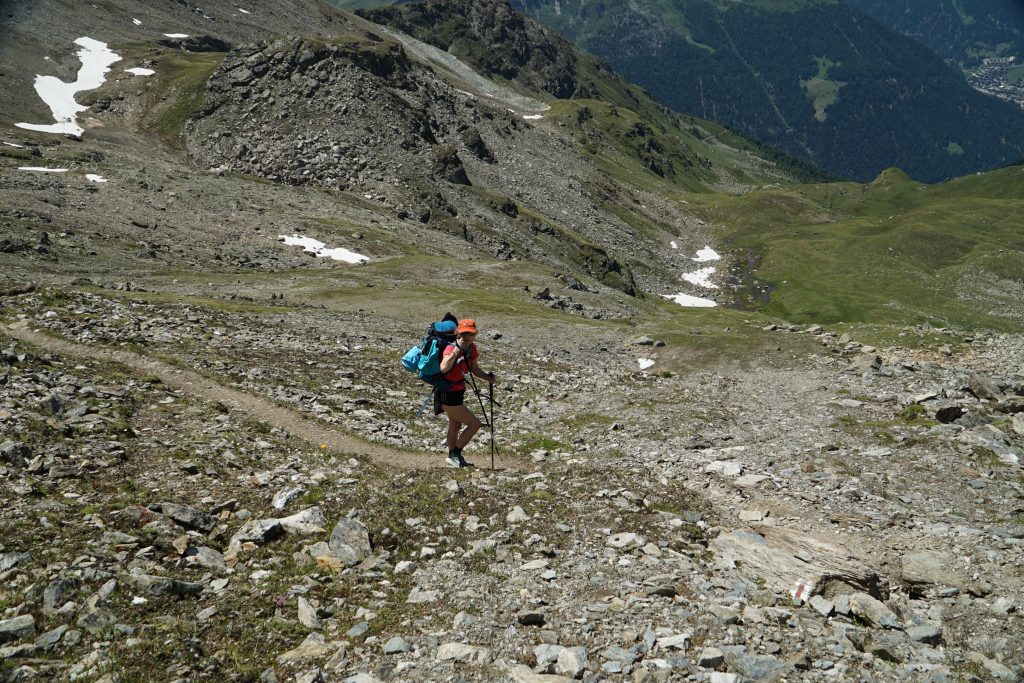
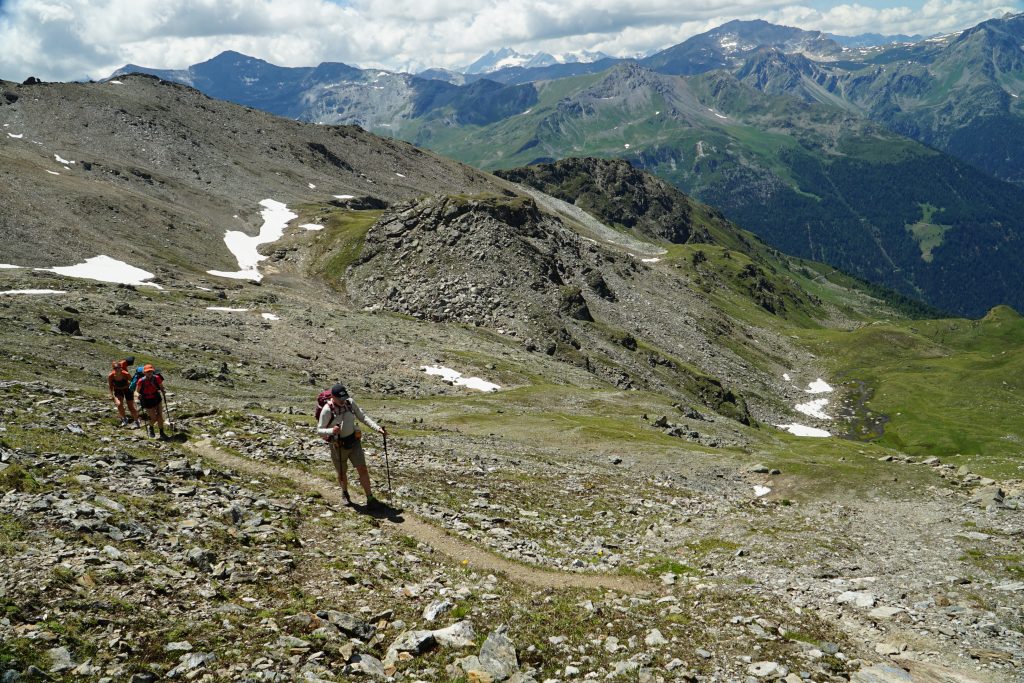
Sometimes the challenge is not one dramatic feature at all. It’s simply that the trail stays rocky for a very long time.
As you approach the higher cols, the vegetation thins out and the trail often becomes increasingly rugged. Instead of a smooth, compact path, it is often rocky and rugged.
This can be physically tiring, but it can also be mentally exhausting.
On a normal trail, you can sometimes switch off and walk almost automatically. On rough alpine terrain, you have to keep thinking: Where am I putting my foot? Is that rock stable? Can I step there or should I go around?
Do that for an hour and you notice it. Do it for several hours, day after day, and it becomes a significant part of the challenge of the Haute Route.
This is also why distance alone is not a particularly useful way of judging how difficult a stage will feel. A 20km day on rough alpine terrain can take considerably longer, and require much more concentration, than the same distance on an easy mountain path. On average, we were often hiking for around 8 hours a day, sometimes longer.
Exposed trails on the Haute Route
“Exposure” is a word you’ll hear a lot in alpine hiking, but it can be difficult to understand until you’ve experienced it.
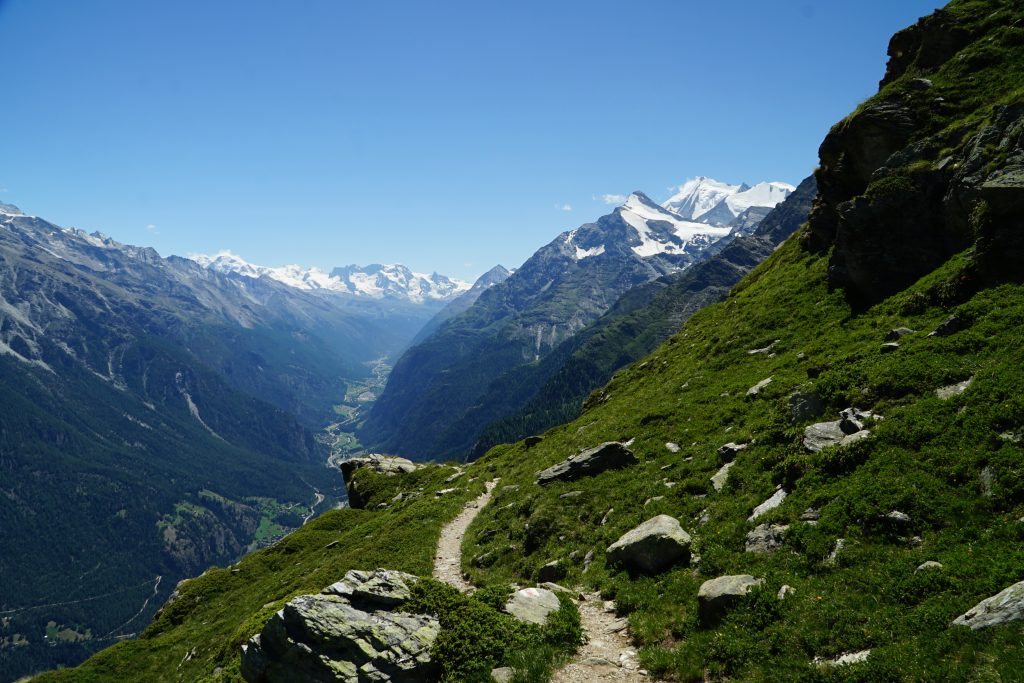
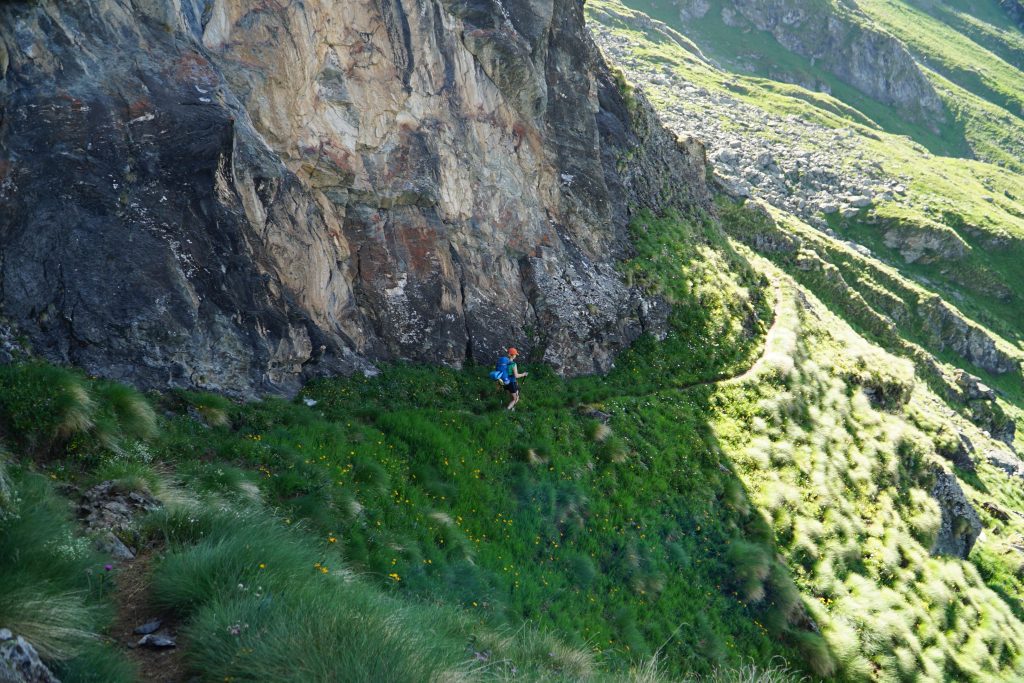
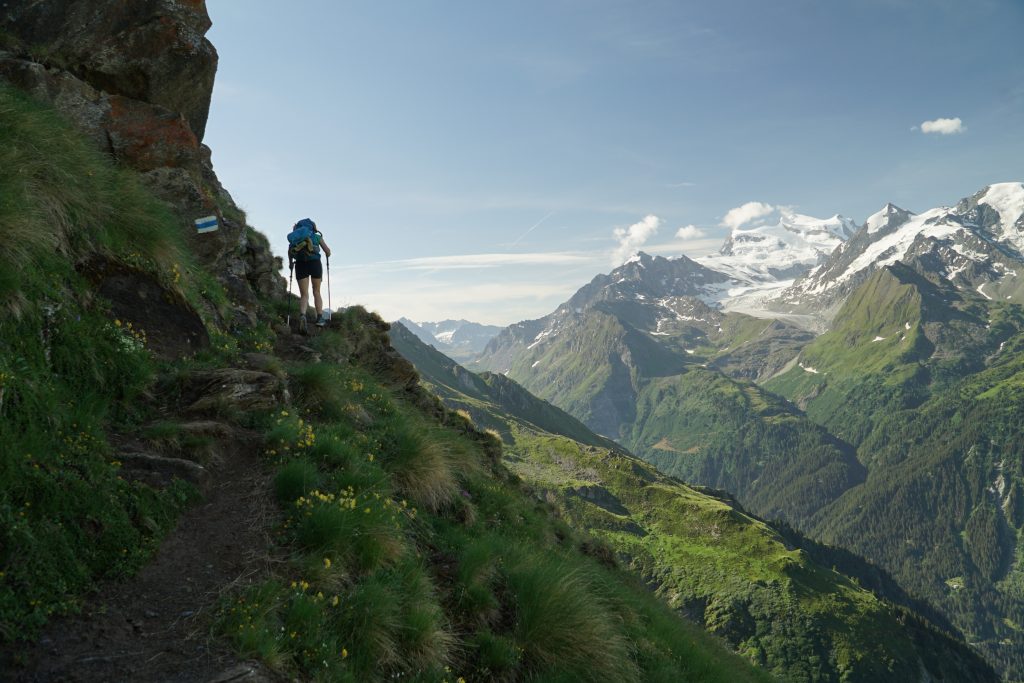
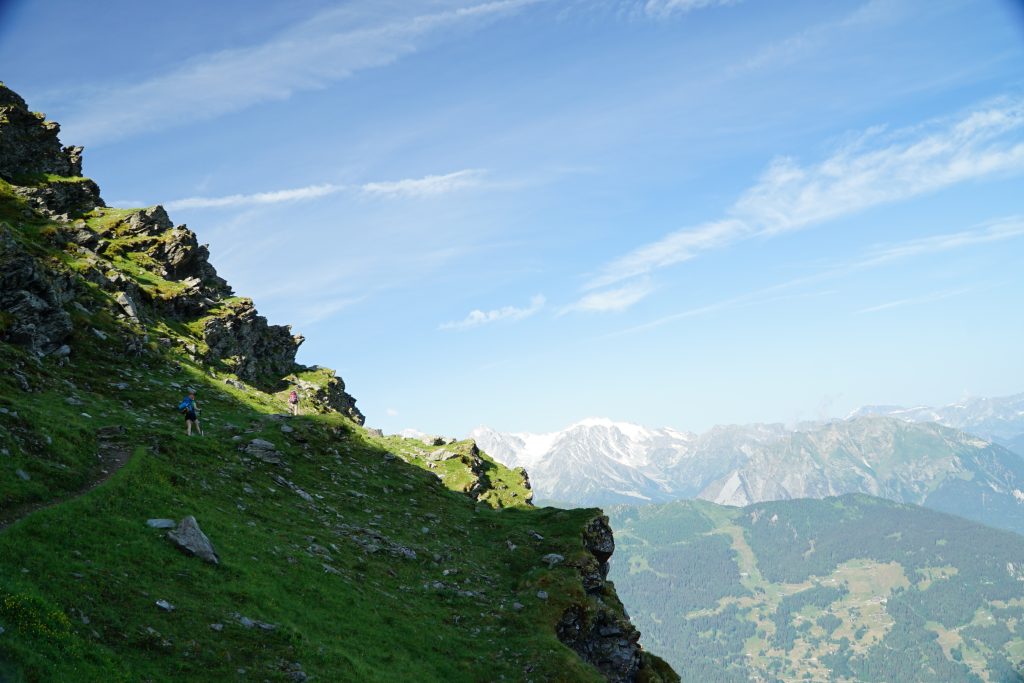
An exposed trail is one where there is a significant drop beside the path. Sometimes the trail itself is narrow, following a ledge or contouring across a steep mountainside. In other places, there may be a steep slope or large drop immediately below you.
For someone who is comfortable with heights, this can simply be part of the spectacular scenery. I personally found this to be one of the most exciting things about the Haute Route! But for someone like my dad, who struggles with heights, it can be much more mentally demanding.
Fixed gear; equipped sections
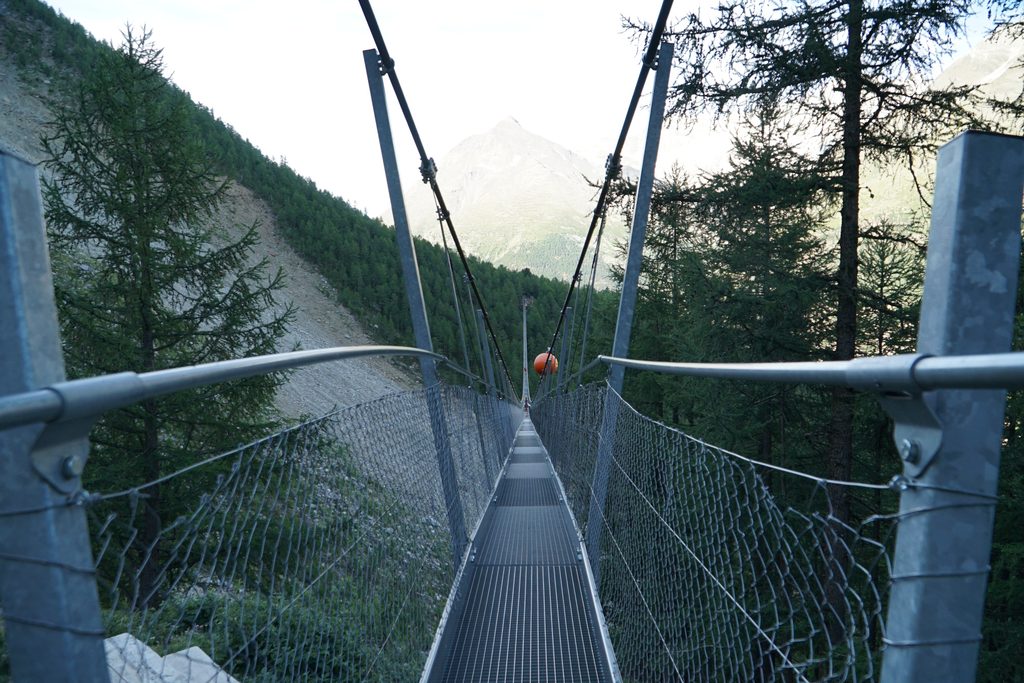
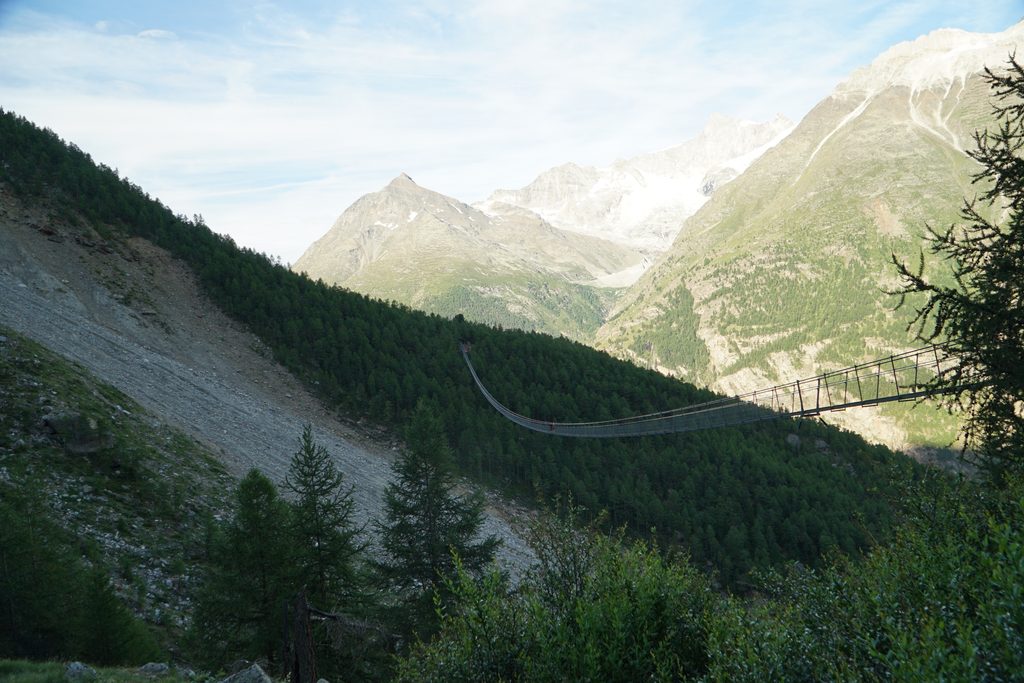
The Haute Route has several exposed sections where the trail feels high and airy. This is particularly true around the Europaweg. Single-track “balcony trails” weave above the Mattertal, with steep sections built into the mountainside. Expect tunnels, man-made steps and high bridges.
One of the most memorable section is the Charles Kuonen Suspension Bridge, which is almost 500m long.
One thing to note is that, wherever the expose becomes quite high, the route is almost equipped with fixed chains and hand lines. These give you extra support and a sense of safety.
So, how technical is the Haute Route?
The answer depends partly on what you are used to.
For an experienced mountain hiker who is comfortable with uneven ground, heights and long days, the technical sections may simply feel like part of the adventure.
For someone used to well-maintained paths, the same terrain can feel much more demanding.
You don’t need to be a climber. But you should be comfortable walking for several hours on rough, rocky ground, negotiating large steps, crossing boulder fields and descending loose slopes. You also need to be able to remain calm and make sensible decisions when the trail becomes exposed.
And perhaps most importantly, you need to be prepared for the fact that technical terrain slows you down.
The challenge is part of the adventure
This is what makes the Haute Route challenging, but it is also what makes it so unique.
The rocky cols, boulder fields, exposed balcony trails and steep scree slopes take you into a part of the Alps that feels genuinely wild. The terrain is often the reason the views are so spectacular.
So before you set off, make sure you understand what the route involves. Make sure that you have the fitness, strengh and confidence to tackle it.
And if you do? Go for it!
The hikers Newsletter
Get trekking info and our latest deals.
